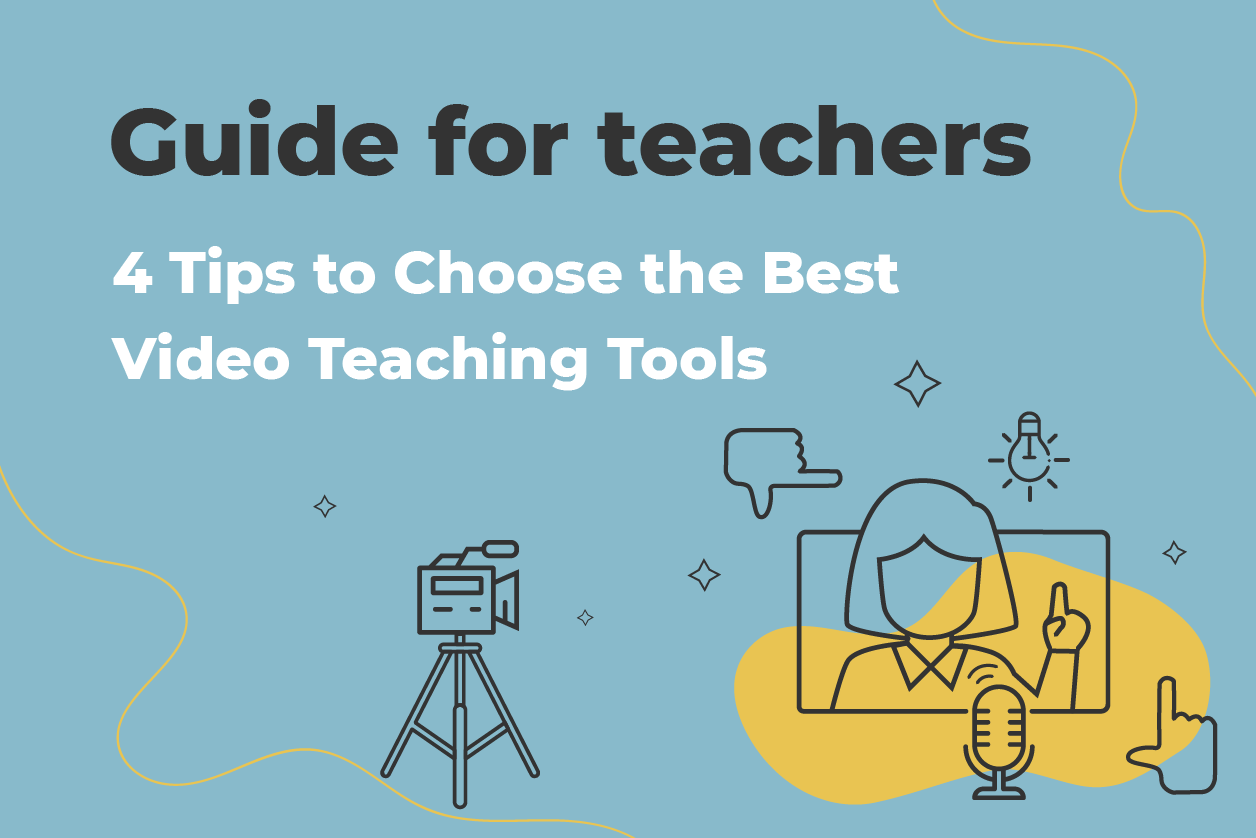
If these pestering worries sound familiar to you, you are in the right place. Let’s see how you can choose the best video teaching tools.
It can seem as though there are an infinite number of decisions which you need to make before recording your video. We know that technology can be scary and thinking about which camera, microphone and additional equipment you need to purchase may cause you to give up before you have even started.
We are here to help you make informed decisions about your video teaching tools, silence these worries and show you that you do not have to give up so soon.
#1 Professional Camera vs Phone / Laptop Camera.
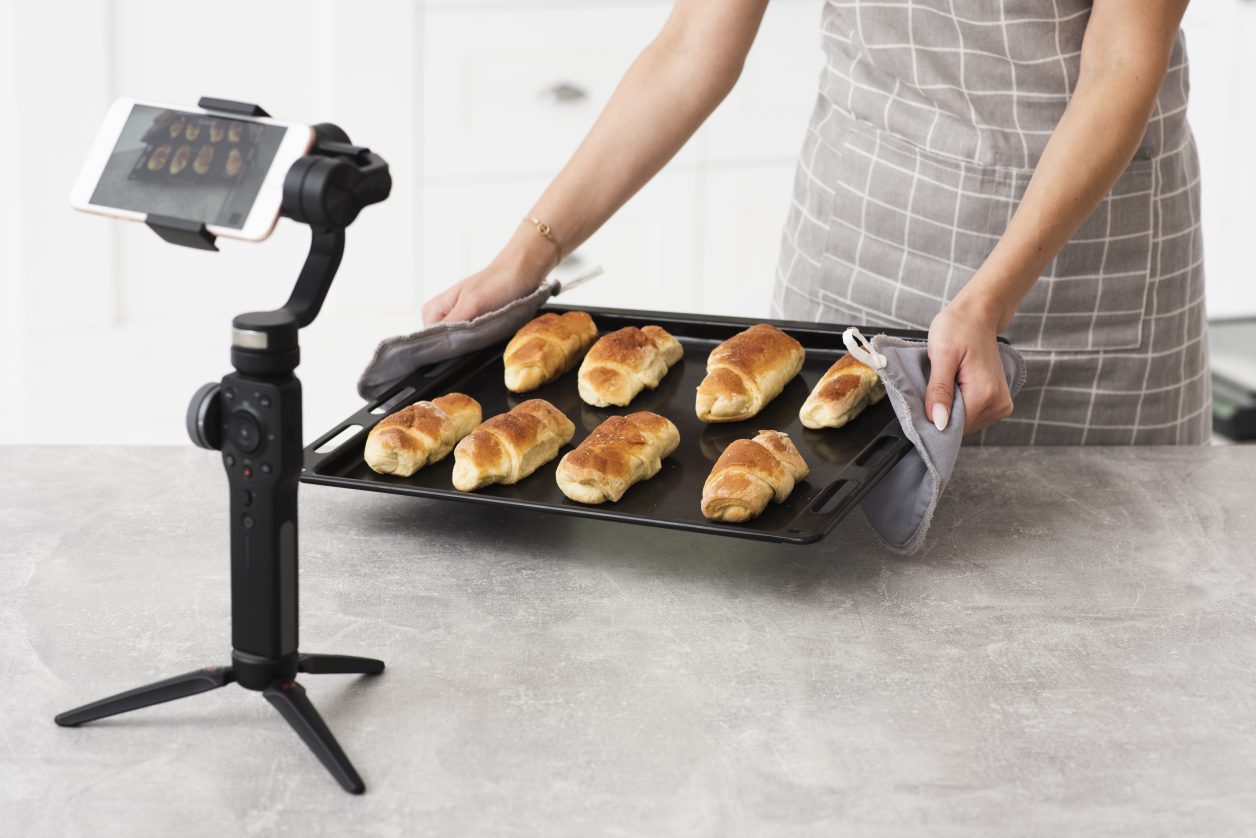
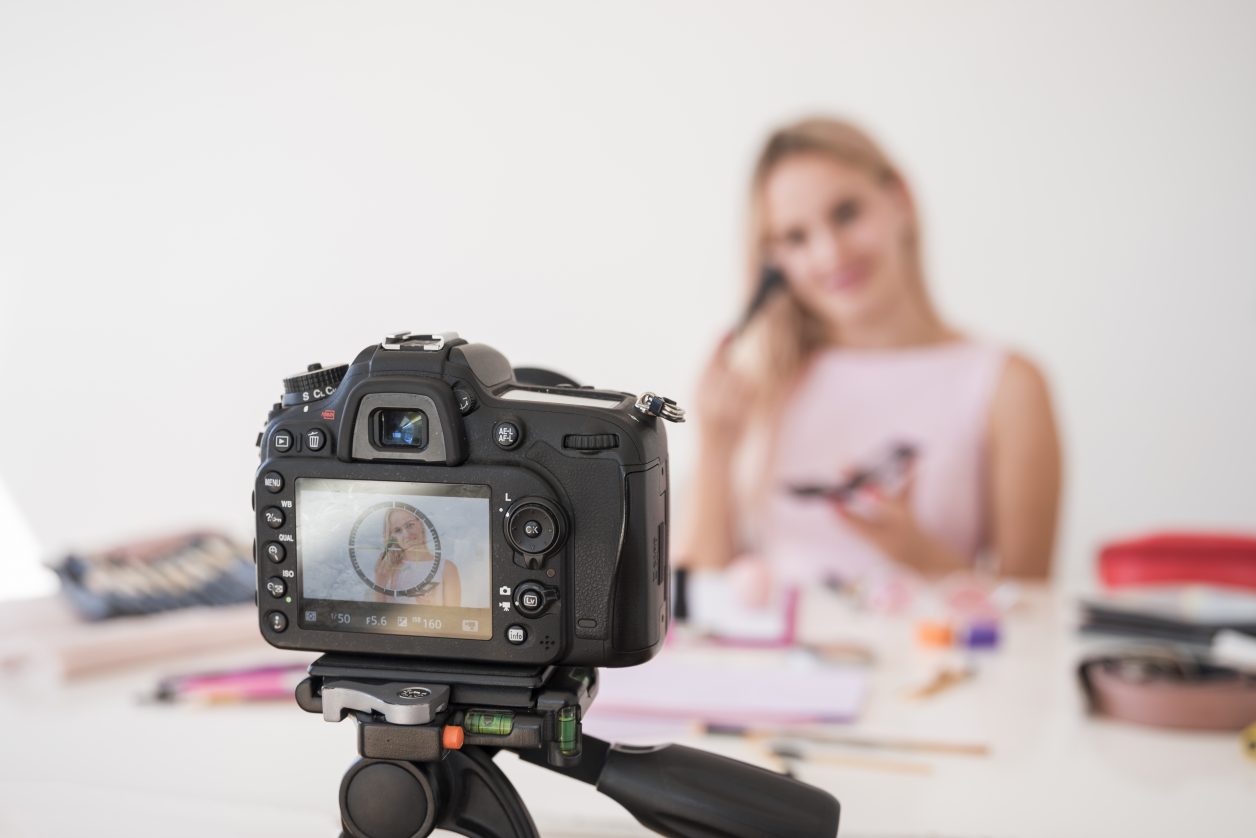
To record a video class you can either use the camera on your phone, tablet or laptop or you can purchase a separate, professional camera from which to record. You also have the option to purchase a camera specifically for your laptop, which can be plugged in as an accessory.
Making this decision is one of the biggest deterrents for online teachers, so we want to help you make this decision easily and efficiently.
When it comes to deciding what type of camera you need, you must consider what kind of recording you will be doing. If you only need to record your face, a phone or a laptop can be sufficient. A laptop would be the best option for classes in which you require to share your screen with students, as long as you have built-in audiovisual equipment or additional accessories to plug into your laptop.
If you need flawless video recording quality of your hands and small materials, a camera could benefit you more so than a phone. Your laptop would also be impossible to set up in a point of view angle which would be required for more creative, practical classes.
Always ensure that you test your equipment before making any decisions. Record a short (2-5 minutes) practise lesson and watch it back. You can save your money if your phone or laptop are producing good quality classes to the degree that you need. If you want to use your laptop and just upgrade the camera, you can buy a small laptop camera that can be plugged into the USB port.
If you, like many others, live in fear of plugging in several different accessories into your laptop and ensuring that they all work, an all-in-one (audio and visual recording) camera may be your best bet.
#2 Microphone vs. Built in Apparatus
Microphones can be purchased in the form of small, desktop USB plug-in devices, headsets or larger, professional microphones which can be set up to record those who stand during their online classes.
Nobody wants to listen to a muffled, crackly voice for 30 minutes. Before deciding to purchase a new microphone make sure you test the one on your phone or laptop, as suggested with the camera element. The audio in the video may become less clear with movement, which is required during particular classes such as cooking, fitness and dance. In this case you may wish to consider using a larger microphone or a headset.
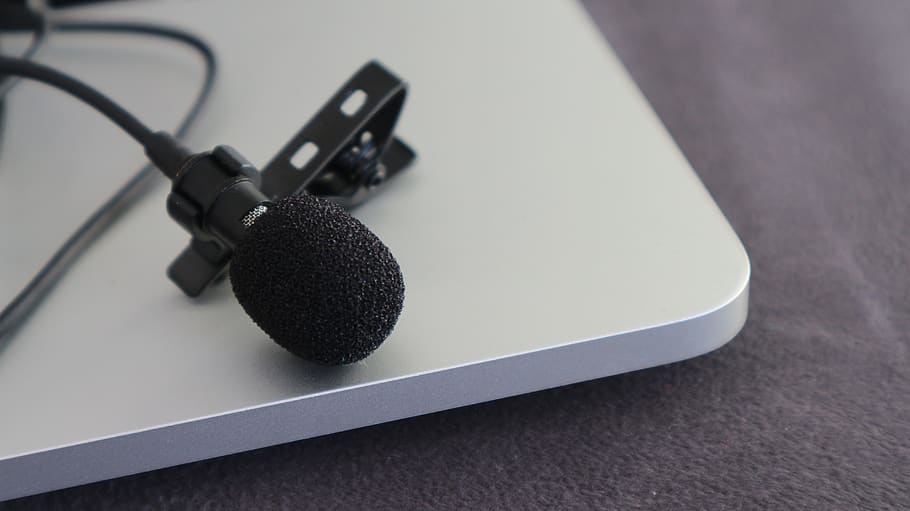
Furthermore, in classes such as singing or those teaching a musical instrument where audio is hugely important, a microphone would be preferable. If you are sitting in one position for the duration of your online class, you may only need to use the built-in apparatus on your device. You can also upgrade the audio by using a desktop USB microphone for your laptop if needed.
Students value good sound quality even more than video quality, so it is important to take this into consideration and upgrade your equipment if necessary.
#3 Natural Light vs. Ring Light
You can choose either to record your video in natural light or with a ring light. A ring light is a large, circular LED light often attached to a stand used for photography or filming purposes.
Natural light can be fabulous at times, yet if your video lessons will be mostly focussed on your face, at times you can end up appearing as a luminous blob on the screen. This is something that we all wish to avoid. Consider the positioning of your workspace. Is it opposite a large window which often catches the sun? If so, you may want to consider closing the curtains and using a ring light.
If you have successfully recorded in your workspace in the past and the lighting in your workspace, you may not need to purchase a ring light. However, keep in mind that some days can be a bit dreary and there may not be a great deal of light available. Try out a few tester lessons and watch them back to discern how effective natural lighting is for the quality of your video class.
Don’t worry, a ring light is not the only way to light a video recording professionally, it is possible to create the perfect video class with natural lighting. Try out many different spots in your house and see which area works best for your recording needs. If you are mostly recording what your hands are doing in creative lessons such as sewing or painting, natural light could be a better option as setting up a ring light to point downwards could be tricky.
#4 Tripod or No Tripod?
Tripods can be used to hold your recording device in a steady position. They come in all shapes and sizes, with mini desk tripods for phones and other handheld devices as well as larger floor length tripods.
For a few classes which require a recording position which is further away and higher (such as cooking classes), a tripod is recommended in order to help you achieve the desired angle. This is also the case for point of view (POV) recording. For videos where you want to record what you are doing in front of you, you can find specific tripods with a flippable head or even wearable holders. These can be purchased for both phone and camera devices.
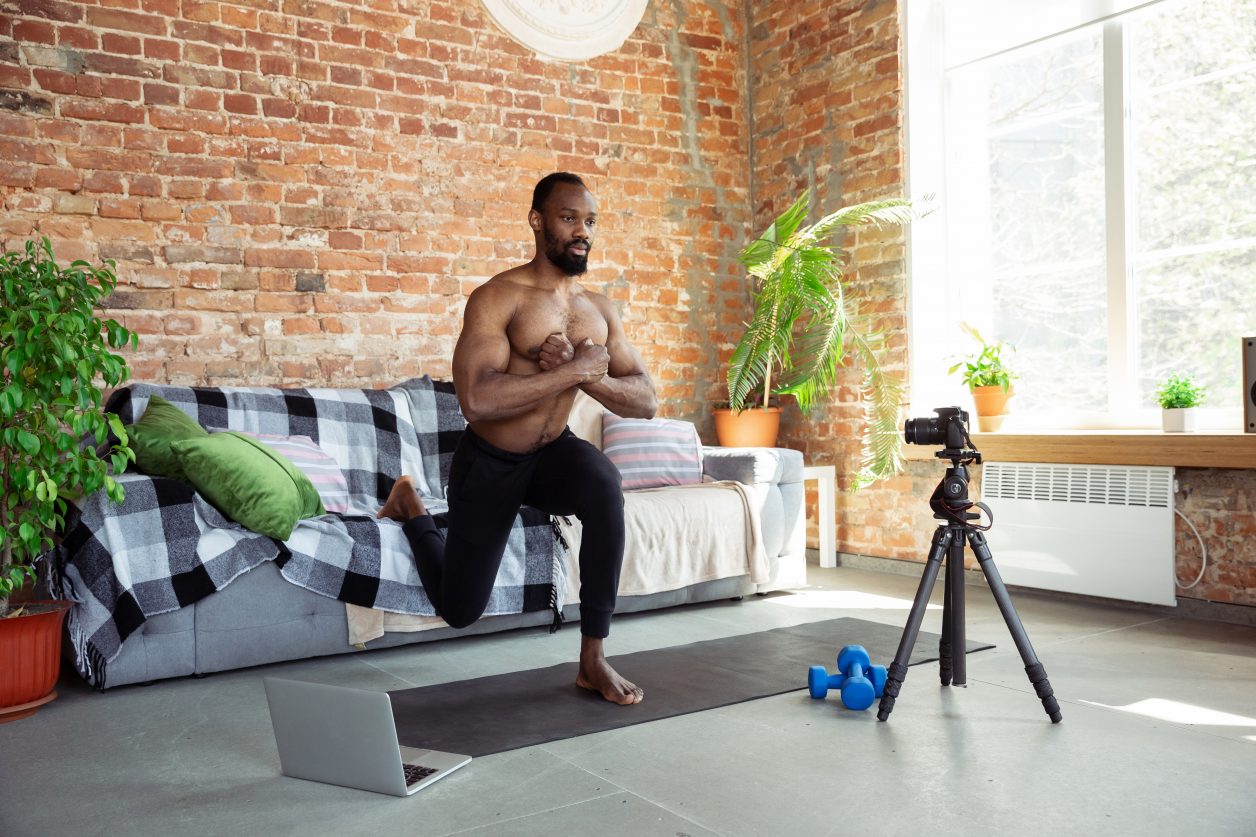
If you are using a laptop, the angle of the camera is often in the perfect place and you will not require a tripod. Steer clear of the selfie stick (often used by vloggers), unless you want arm cramp as a result of holding it up for the entire duration of the class.
Let’s sum up…
The most important factor to consider when thinking about video teaching tools is the content and type of recording you will be doing.
Think carefully about the standard and quality of recording equipment that you currently use before mindlessly placing an Amazon order. Think about the way in which buying new video tools will benefit you.
If you have already created classes, you can even ask your students and search through your reviews and feedback to find comments on video and sound quality. For those of you who have not created videos as of yet, you should also be sure to monitor your comments and reviews and see how your recording technique sits with students. If they are satisfied with the quality of your classes you can stick with your current equipment or make adjustments if you receive negative comments.
So, now that you know how to choose your video teaching tools, are you ready to start your video teaching journey?
Comments