We will explain to you how you can record a video lesson that will catch the learner’s attention immediately and show you how you can enjoy the entire process by doing everything from the comfort of your home.
In this guide you’ll learn:
- How to create a thoughtfully structured video class
- How to record a video with the best affordable equipment, lighting, camera etc.
Before we give you any tips, you should know that video recording requires patience and practice.
Whether you are a complete newbie or you have already recorded a video, creating video lessons can be a challenging activity. There’s a high probability you will not create a video that satisfies your needs the first time, and you will have to record it once again, or even several times.
There are steps in the video recording process that can get complicated and complex if some questions are left unanswered. As a result, you are left unprepared.
- If you do not create a content draft or do not have an idea about what you would like to explain in your video, you can get confused, look unprofessional and unskilled.
- If you don’t adjust settings in your camera properly, movements in video can look choppy and not smooth which will have an impact on video quality and affect your reputation and your ratings.
- Poorly placed mic can affect the quality of your sound and having a video with poor sound quality simply doesn’t fit today’s video standards.
- You need to set your stage if you don’t want to record any unwanted footage.
You can avoid this scenario and prepare accordingly. Follow our steps to make a video recording process easy and effective.
Let’s equip you to rock the teaching online world!
#1 Prepare your content for recording
How to prepare a structure for a lesson?
After you have decided what your topic is about, write down the lesson notes, and create a concept for a video lesson or a tutorial.
The most effective approach is to divide your topic lesson into a list of titles. Titles should refer to the content you are planning to cover and present. Dividing the content by titles will allow you to cover the topic in detail and to effectively present it. It will also allow you to include examples more effectively or explain an idea or story behind in a better way.
Such lesson organization also allows you to emphasize the parts of the lesson that are most important for the learners to understand.
So, if your lesson is about How to Crochet and it is created for beginners, it’s crucial you walk your learners though the process and steps. Thus, for example, your titles (steps) can be:
- Introduction
- Material (the type of yarn you will use),
- Equipment (the size of the needles you will use)
- Type of stitches – theory (single crochet, double crochet)
- How to create a slip knot
- Hot to start a chain
- How to continue with single crochet stitches
- Tips and tricks
- Summary and conclusion
The introduction is a crucial part of any type of video. It is also a preview of your video lesson (15 seconds) and should provide a lesson brief and a short description of you as a teacher.

Use shorter, concise sentences and speak clearly
Shorter and more concise sentences will allow your students to grasp the knowledge more easily. Be clear and precise about the topic you are speaking about. If your video is about knitting, concise instructions will allow your students to follow the steps along with your explanation.
Regardless of the type of the lesson, long and dull sentences can make the topic more complex, drawing the student’s attention away from the topic in question.
Lack of interest in continuing the lessons or a feeling of dissatisfaction with the process and topic can become a result that you certainly don’t want. Instead of going with long, scientific sentences and descriptions by the book, use the language you use when you describe things to a friend who doesn’t know anything about it.
Whenever you can, use a show-and-tell teaching approach
If your video is about knitting, a show-and-tell approach is a must. However, a pen and paper are required as well. Writing or drawing while talking enhances the memorization ability and make lessons lighter to grasp.
Is this “a rule” for every video? What about language or science lessons?
There are different lessons depending on the subject so your approach can be different.
It is up to you to understand your students’ habits and desires. If you are new to teaching in general, focus on what you know best, and create a lesson draft that will point that out.
There is only one step before you wrap up the content for the video lesson
After you have written down the structure, be sure to write down a complete script for each lesson before you start recording it. If you are feeling more confident, the script can only serve you as a guide for the topics you want to cover. Still, rehearse it a couple of times before you start recording.
Once you start recording, try not to read from a paper, and be more natural and spontaneous like you are showing something to a child or a friend.
#2 Create your stage for video recording
Audio
Find a space that is quiet and without any possible interruptions. Avoid recording outside or in a coffee shop as you won’t be able to guarantee the best possible sound.
A mushy sound or any back noise will only disrupt the student’s attention and can make you look unprofessional. You need a clear, quality sound. Your room will do the work.
The best sound you can create is by speaking directly to the microphone, possibly the one that is predominantly designed for recording vlogs and video lessons. They come in different shapes and designs. You can choose between:
Shotgun microphone – It comes in all shapes, sizes, and price points.
Lavalier microphone – Also known as a clip-on mic, it can either be a miniature wired microphone that clips directly to your clothing, or wireless with a transmitter and receiver.
Handheld microphones – It can also be used with a desk stand in a pinch.
Stage
Choose a background that is flat and neutral. Colors and the detailed background will only make your students pay less attention to what you are saying and more to what is around you. If you need a table, make sure it is also neutral, without unnecessary details.
Plus, a neutral background suggests a note of your professional approach which can be a desk with only a white wall behind you or whatever neutral you can find.
Light
Natural light is the best option, but you won’t always be able to record a lesson using natural light. The second best option is to have an artificial light that mimics the natural one. A popular ring light is an affordable piece of equipment that is useful to have.
Of course, a lamp or any other source of light will also do the work. Just be sure that both you and your presentation don’t sit in the dark during the lessons.
#3 Choose an appropriate format for your video
If you are recording with your cell phone or a camera be sure to know how to record the video horizontally and not vertically. Remember that the first 15 seconds of the video should be a preview that provides a brief introduction about you and your teaching approach and the content of the video lesson.
A single video you are creating for InfoDepot should not be more than 30 minutes in length. Therefore, be sure that you have enough memory space on your phone or camera.
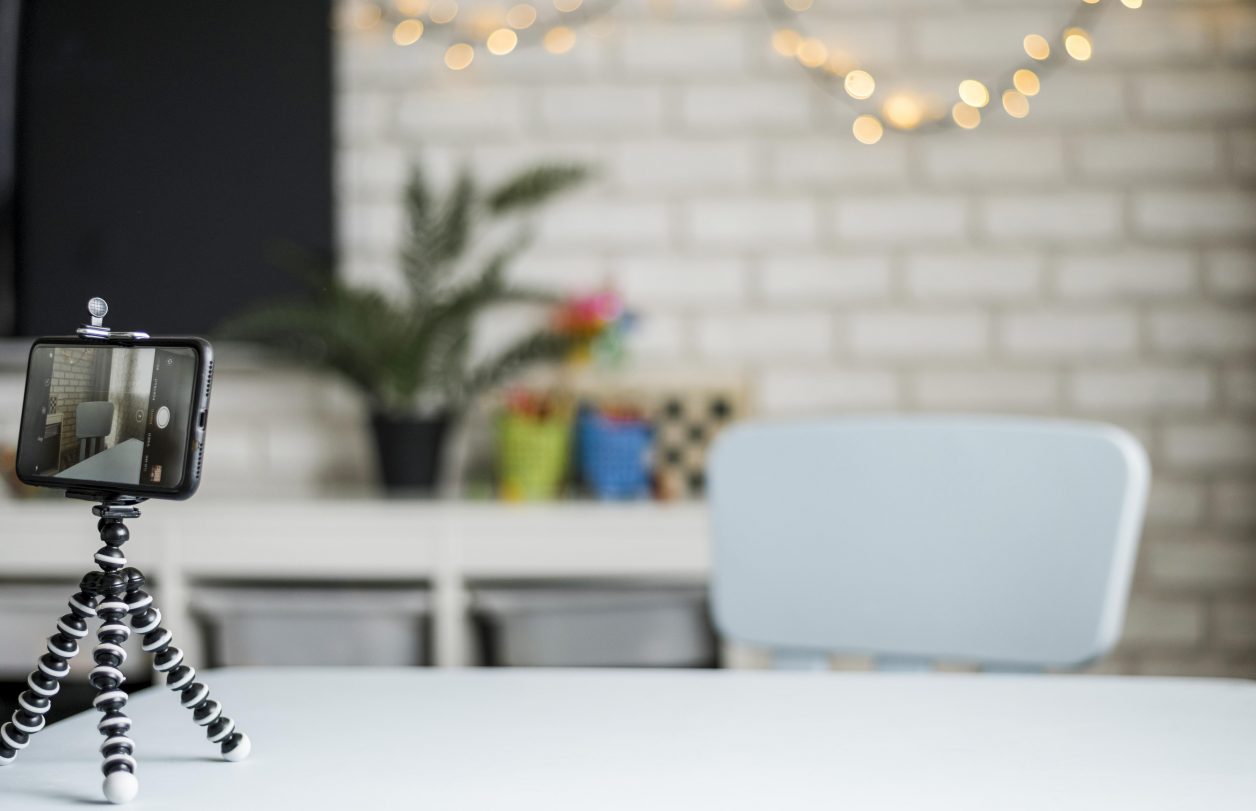
Furthermore, you’ll definitely have to be freehanded while recording the lessons so you’ll need a tripod, a selfie stick, or any other piece of equipment that will allow you to speak freely.
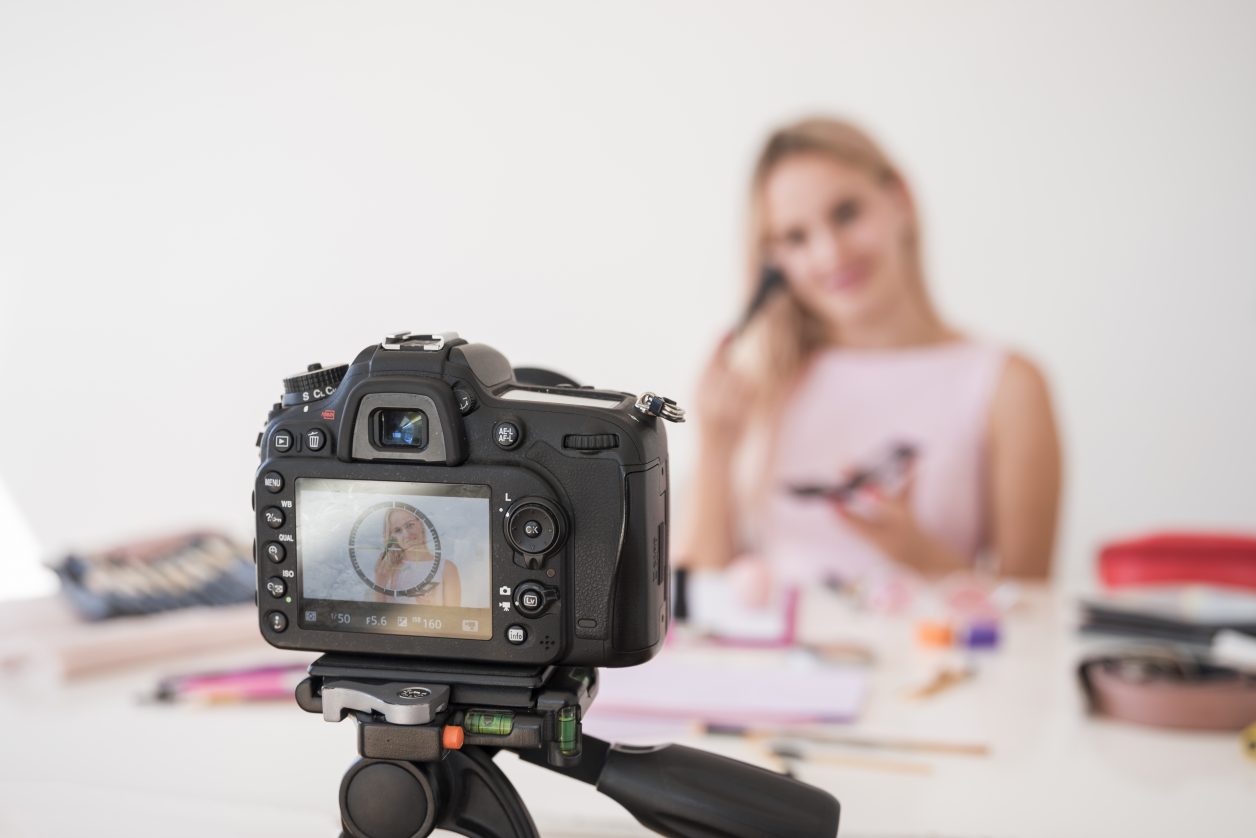
Next, you need to adjust the settings in your camera. Apply these settings to get the best quality of your video.
- 1080p HD
- 16:9 aspect ratio
- 1920 × 1080
It is important to know that InfoDepot is able to convert most formats to make the video usable on the site. Still, it is better to be safe than sorry so we suggest you format your video while recording.
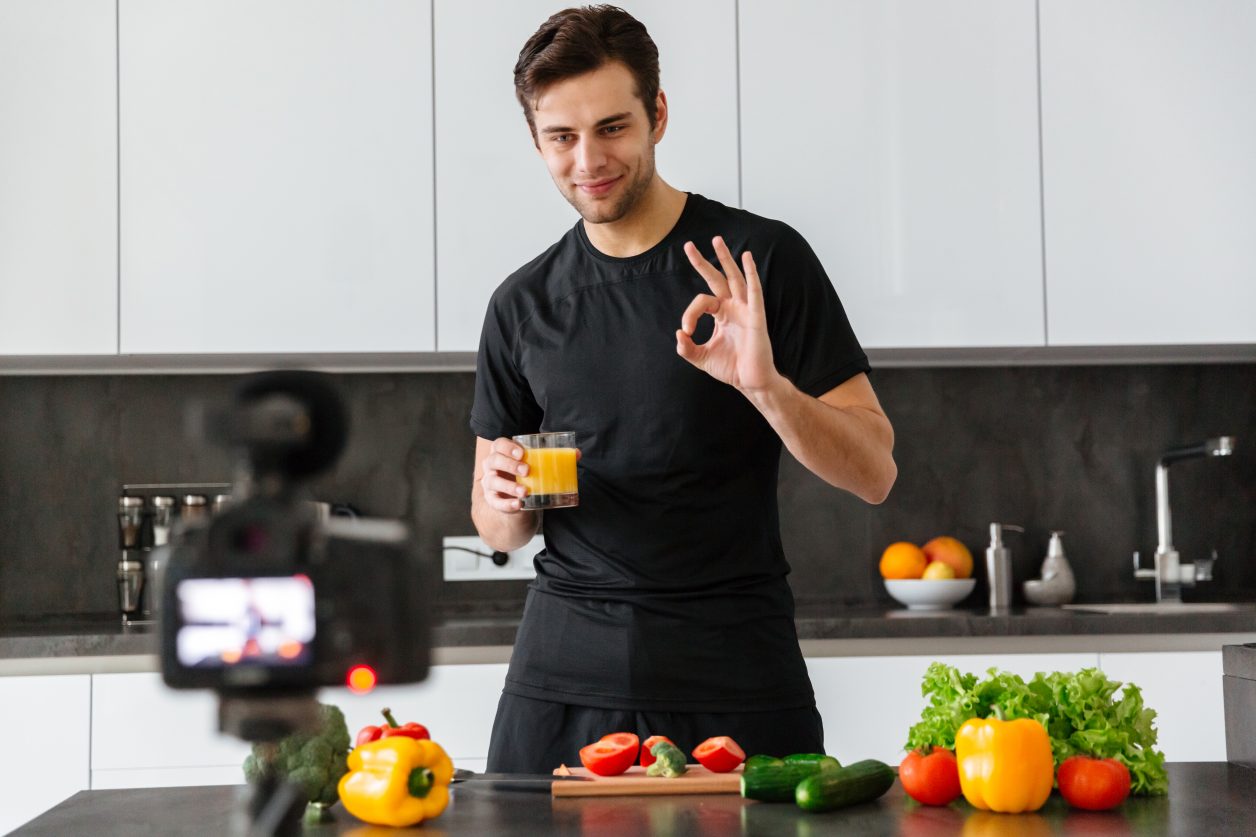
#4 Press the recording button
After you have adjusted the camera settings, prepared your stage, audio and light, and created a script, position yourself properly. It is important to place yourself in the center of the frame, in the way that you have a blank space above your head. The frame should cover your upper side of your body.
If you are recording instructions, set the frame directly on your hands and what you are doing.
Make sure that you have focused your camera and that image is not blurry. Remember that all of the pre-settings you apply will shorten the video editing process later.
You start recording now as you know the basics on how to record a video!
#5 Edit the video
There are plenty of video editing tools you can use to give your video a final touch.You will probably need to cut bloopers or unwanted parts of the videos. They are unavoidable.
We explored the best options and created a list of video editing tools that are effective and useful for both beginners and those who have already been recording videos and tutorials. Some are free and come with a limited yet useful number of features, others are created for specific types of videos.
iMovie is an app that allows you to record and edit your video both on your computer and cellphone. It is perfect for beginners and offers many interesting features for free. With this app, you can cut unwanted frames, speed up the entire making process, or emphasize the parts you find the most important with different sound effects.
If you are using Android, try the YouCut app. The app has similar features that enable you to have a quick editing process and high-quality video. You can also enjoy many useful features such as a rich sound library, different fonts, and other things that come in the free version.
What is important, you can edit and download the video without having their watermark added.
However, if you tend to dedicate your time to creating video lessons regularly, choose more professional tools such as Adobe Premiere Pro.
Choose the video editing app that suits you the best. What you need from a tool is to have options to cut frames, remove background noise, add sound you have recorded separately, add background music, or speed up the video.
And that’s it! You are now ready to record your first video lessons!
Positive reviews support your efforts and teaching approach
Ratings and reviews are a vital part of the community engagement on InfoDepot and the quality of your video and lessons are there to speak in your name.
For a dedicated and professional educator, positive feedback is a confirmation of quality. Keep in mind that your video lessons should be of high quality with a clear sound and video, so your students would want to return and learn more from you. Moreover, positive feedback is a clear incentive to anyone who is considering to enroll and purchase your video lesson.
If you have any questions regarding how to record a video lesson or any other concerns whatsoever you can always contact us. For more detailed information, you can visit our FAQ section.
Are you ready to join the CRAFTolution?
Welcome to our vibrant community of teachers and learners!

Comments